
Window replacements are an essential part of a home improvement project. Not only do they improve energy efficiency and aesthetics, but they can also save money on heating and cooling costs. The window style, size, shape and material you choose depends on several factors. It is why it’s a good idea to research before starting your project.
Window Replacement
When remodeling or constructing a new house, windows may significantly impact the space’s aesthetics, energy efficiency, and comfort. When they become less effective at performing these roles, it’s time for a replacement. When deciding if you need to replace your windows, consider a few things: the age of your house, your budget, and the level of service you expect from the brand you choose. In addition to these considerations, you’ll need to decide which window type will best fit your needs. Total frame replacements, called “nail on” windows, are an excellent choice for houses with dry rot and a masonry or brick structure. They can be insulated to help keep your heating and cooling costs down, and they’re also more visually appealing than insert windows. The window frame is typically made of wood or a composite of vinyl and reclaimed wood fiber. These frames can be strong and durable and are a popular choice for modern homes. The window’s frame channels are prepped for new glass. Remove old silicone caulking around the frames and scrape away any remaining glass pieces or other debris. Clean out the tracks with a brush or utility knife. Place a small amount of elastomeric caulking in gaps less than 1/4 inch wide. Stuff any more expansive spaces with a foam-rubber backer rod to create a tight seal against the frame and sill. If your window has a double-hung frame, you’ll need to remove the vinyl jamb liners at each side of the window. These are usually held in place by screws on each side of the window frame, or you can hammer a screw through the jamb to have it while you work. Make sure the window is level by using a bubble level. If not, add shims between the window and the sill on each side to prop up one side. Trim the lengths of shims that stick out with a utility knife to avoid bowing the frame when you’re done. Please measure the size of your new window’s frame and glass opening before ordering it. If you order the wrong size, the installers must cut it down to fit. Then you’ll need to get a package of “glass points” to secure the glass in place. Cutting your new window to the proper size will make installation much easier and quicker. Most home improvement stores will have large glass sheets ready to be ordered and cut down to the correct size, or you can cut your own. You’ll need to measure your window’s height, width and opening and the thickness of the old glass. Write these measurements down. First, your contractor should carefully remove the old window to install the new one. It will allow him to clean the opening of debris and nails that might present problems during the process. They must also ensure they don’t cut into the original weather barrier or house wrap that protects the walls from water and rain. Once the old window has been removed, the contractor should measure the width of the window and the height from where the lower sash touches the sill to where the upper strap handles the header. It will help them determine the window size they need to order. Next, the window should be centered in the opening so it’s plumb and level. The window replacement company can use shims to achieve this. The shims will not only keep the window in place, but they’ll also help prevent the sashes from bowing outwards.
Window Installation
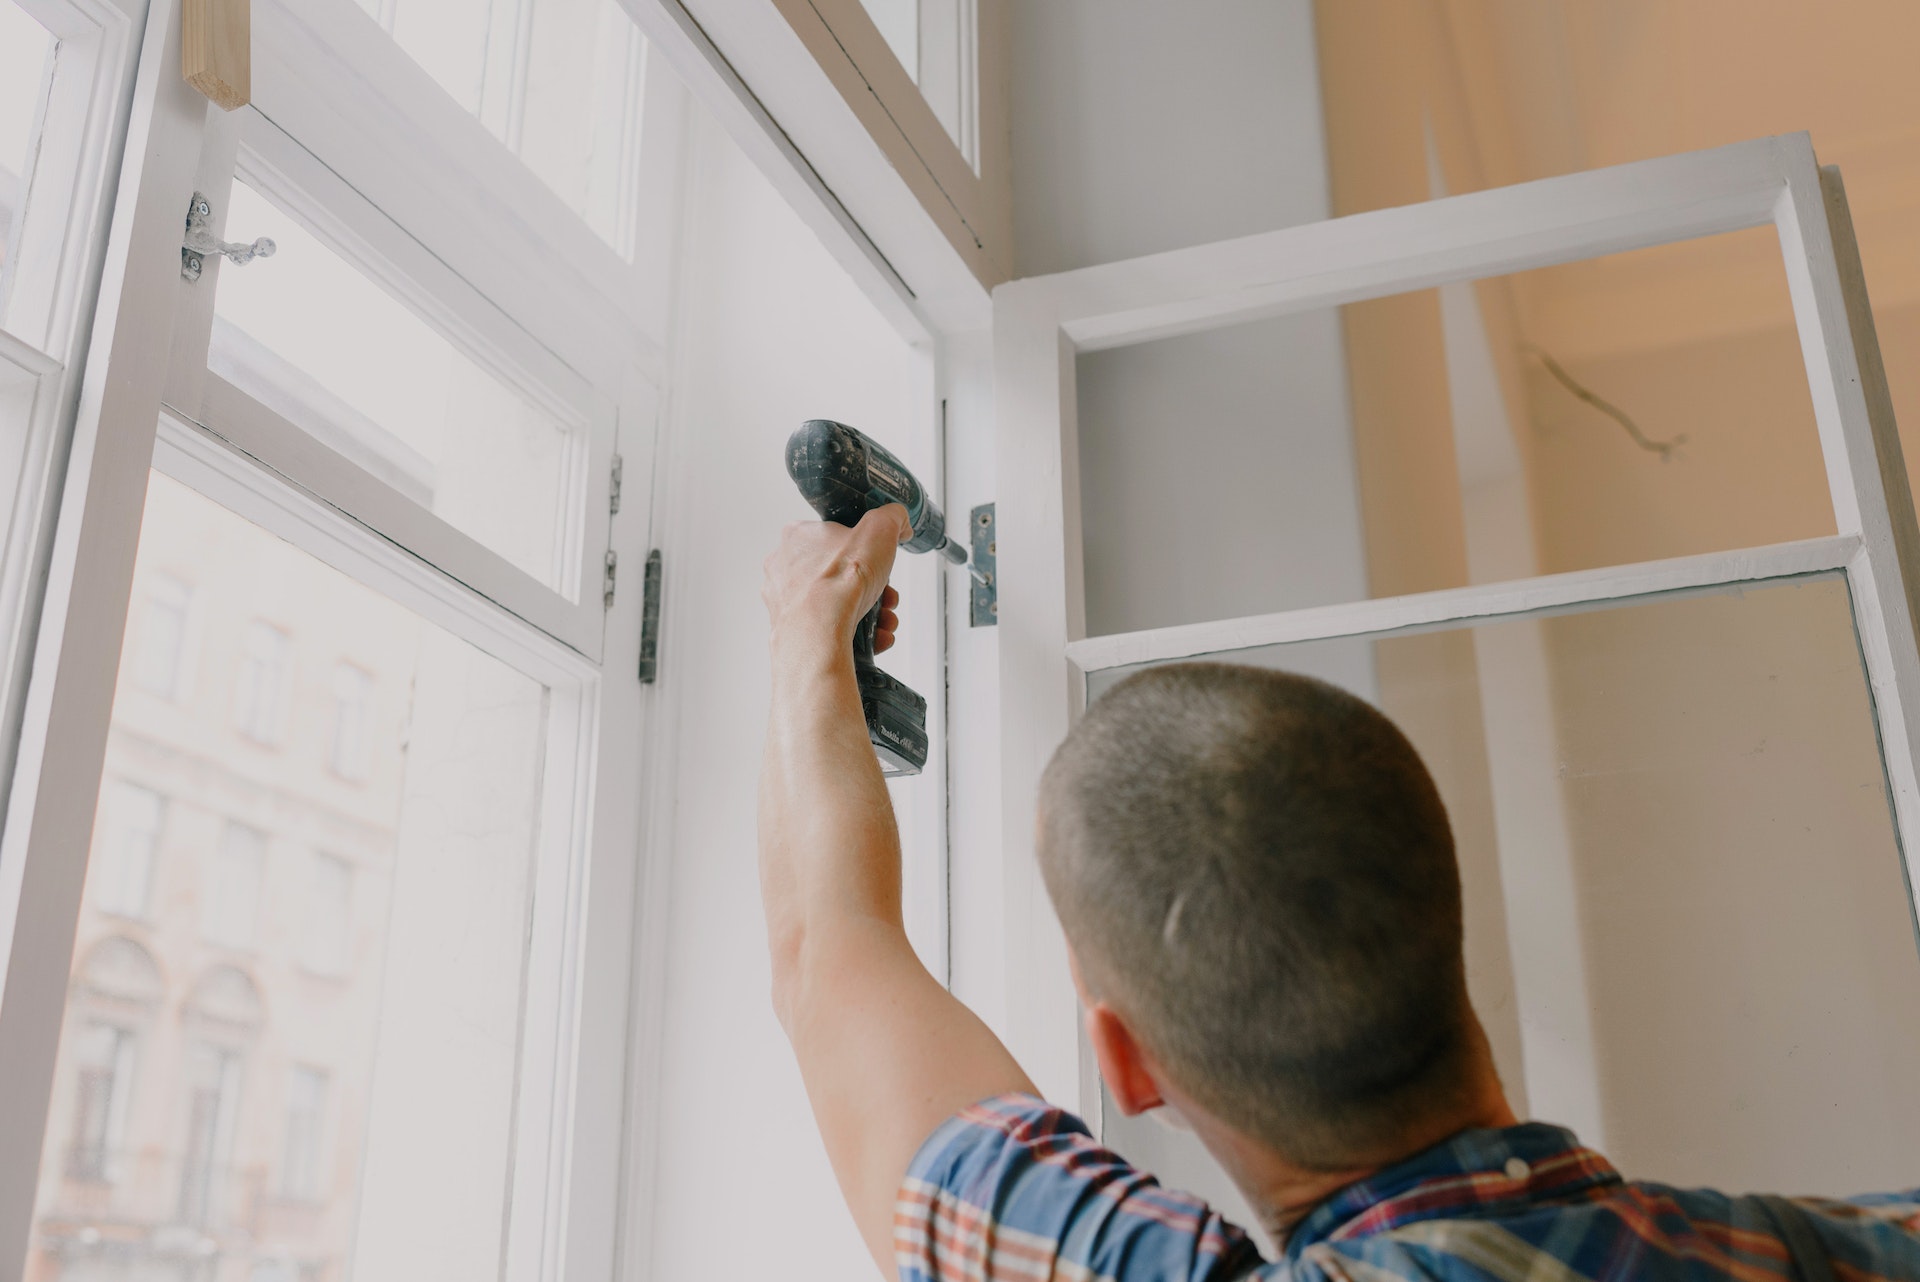
Installing windows is easy, but a high-quality window installation requires much attention. It’s essential to get the job done right and avoid common mistakes that can lead to rotting and other costly repairs in the future. Most modern windows come with pre-drilled holes for screws in the upper side jambs. Some use a 2-in (5.1 cm) screw, but it’s best to choose a longer screw. The screw should go through the window jamb into the studs on each side of the frame, but it should be loose enough to let you adjust the window if something goes wrong.
Shim the window to ensure it’s square: Hold a level against one of the pre-drilled holes and slide wood shims behind it until the window is straight. Then re-check the level, and tighten the screws until they’re snug but not overtightened. Check that the sashes are even and the window is level: Open and close them to verify they’re aligned perfectly. If the sashes aren’t level, use a hand saw to cut off the shims that don’t snap flush to the wall. Then fill the gaps between the sashes and the jambs with loosely packed fiberglass insulation. Then, install the interior, stop molding and finish it with finishing nails. Lastly, apply a strip of flashing tape along the top and sides of the window opening to shed any water that might get in between the sheathing and the window. It helps prevent water from getting in the walls and causing rot, which is very expensive to repair later. If you’re a do-it-yourselfer, the best way to install your windows correctly is to hire a professional to do the work for you. These professionals are trained to handle unexpected problems and can help you avoid the most common mistakes during this process. They’re also more likely to get better prices on windows, which will save you money in the long run.